Enabling and Disabling Features in Flutter with Riverpod
Photo by Jowita Jeleńska on Unsplash
When developing an application, there’s always the need to show or hide content depending on the number of features a user has access to.
Maybe they can purchase new features of the app via in-app purchases or subscriptions, or we want to enable and disable sections of the app remotely for short periods.
Or, on the opposite side, we just want to hide certain features in the production and staging environments while we are working on them in the dev environment.
There are many ways that we can achieve this, and most of them rely on us wrapping our Widgets with a Visibility Widget or adding if conditionals to Lists that we can (and will) forget to change when we push to production.
In this article, we’ll explore how we can make this process easier by creating two basic Widgets that will help us build and change the visibility of certain parts of our UI using Riverpod.
Creating an Enum of Features
Before starting, we need to ask: what are the features of our app that we need to change the visibility?
These are the features that users can purchase via in-app purchases or features that only admin users have access to.
In a hypothetical app, let’s say we have 3 types of users:
- Basic
- Premium
- Diamond
 |
 |
In this case, we can create an enum called FeatureEnum that will showcase the different types of users:
enum FeatureEnum {
  premium,
  diamond,
}
For the current application, we decide that all users have access to basic functionality, so it is not something that we have to include in our enum.
Creating the StateNotifier and Provider
We will need to find a way in our application to make the list of features accessible globally so that our Widgets can react to it. Additionally, we will want to be able to both add and remove features from that list.
Fortunately, Riverpod has the StateNotifier class that allows us to hold a value into it and communicate its change to whatever widget is watching it:
class FeaturesNotifier extends StateNotifier<List<FeatureEnum>> {
  FeaturesNotifier() : super([]);
  void addFeature(FeatureEnum feature) => state = [...state, feature];
  void removeFeature(FeatureEnum feature) => state = [...state..remove(feature)];
}
However, this StateNotifier is not currently accessible for the whole application. For that, we will need to create a StateNotifierProvider that knows how to create and provide this class to our Widgets:
final featuresProvider =
    StateNotifierProvider<FeaturesNotifier, List<FeatureEnum>>((ref) {
  return FeaturesNotifier();
});
Please note that this is a top-class variable, which means that it’s globally accessible.
The key difference for Riverpod, comparing to provider is that we don’t need the BuildContext in order to access the FeaturesNotifier. But in order for that to work, we will need to wrap our MaterialApp with a ProviderScope:
void main() {
  runApp(const ProviderScope(child: MyApp()));
}
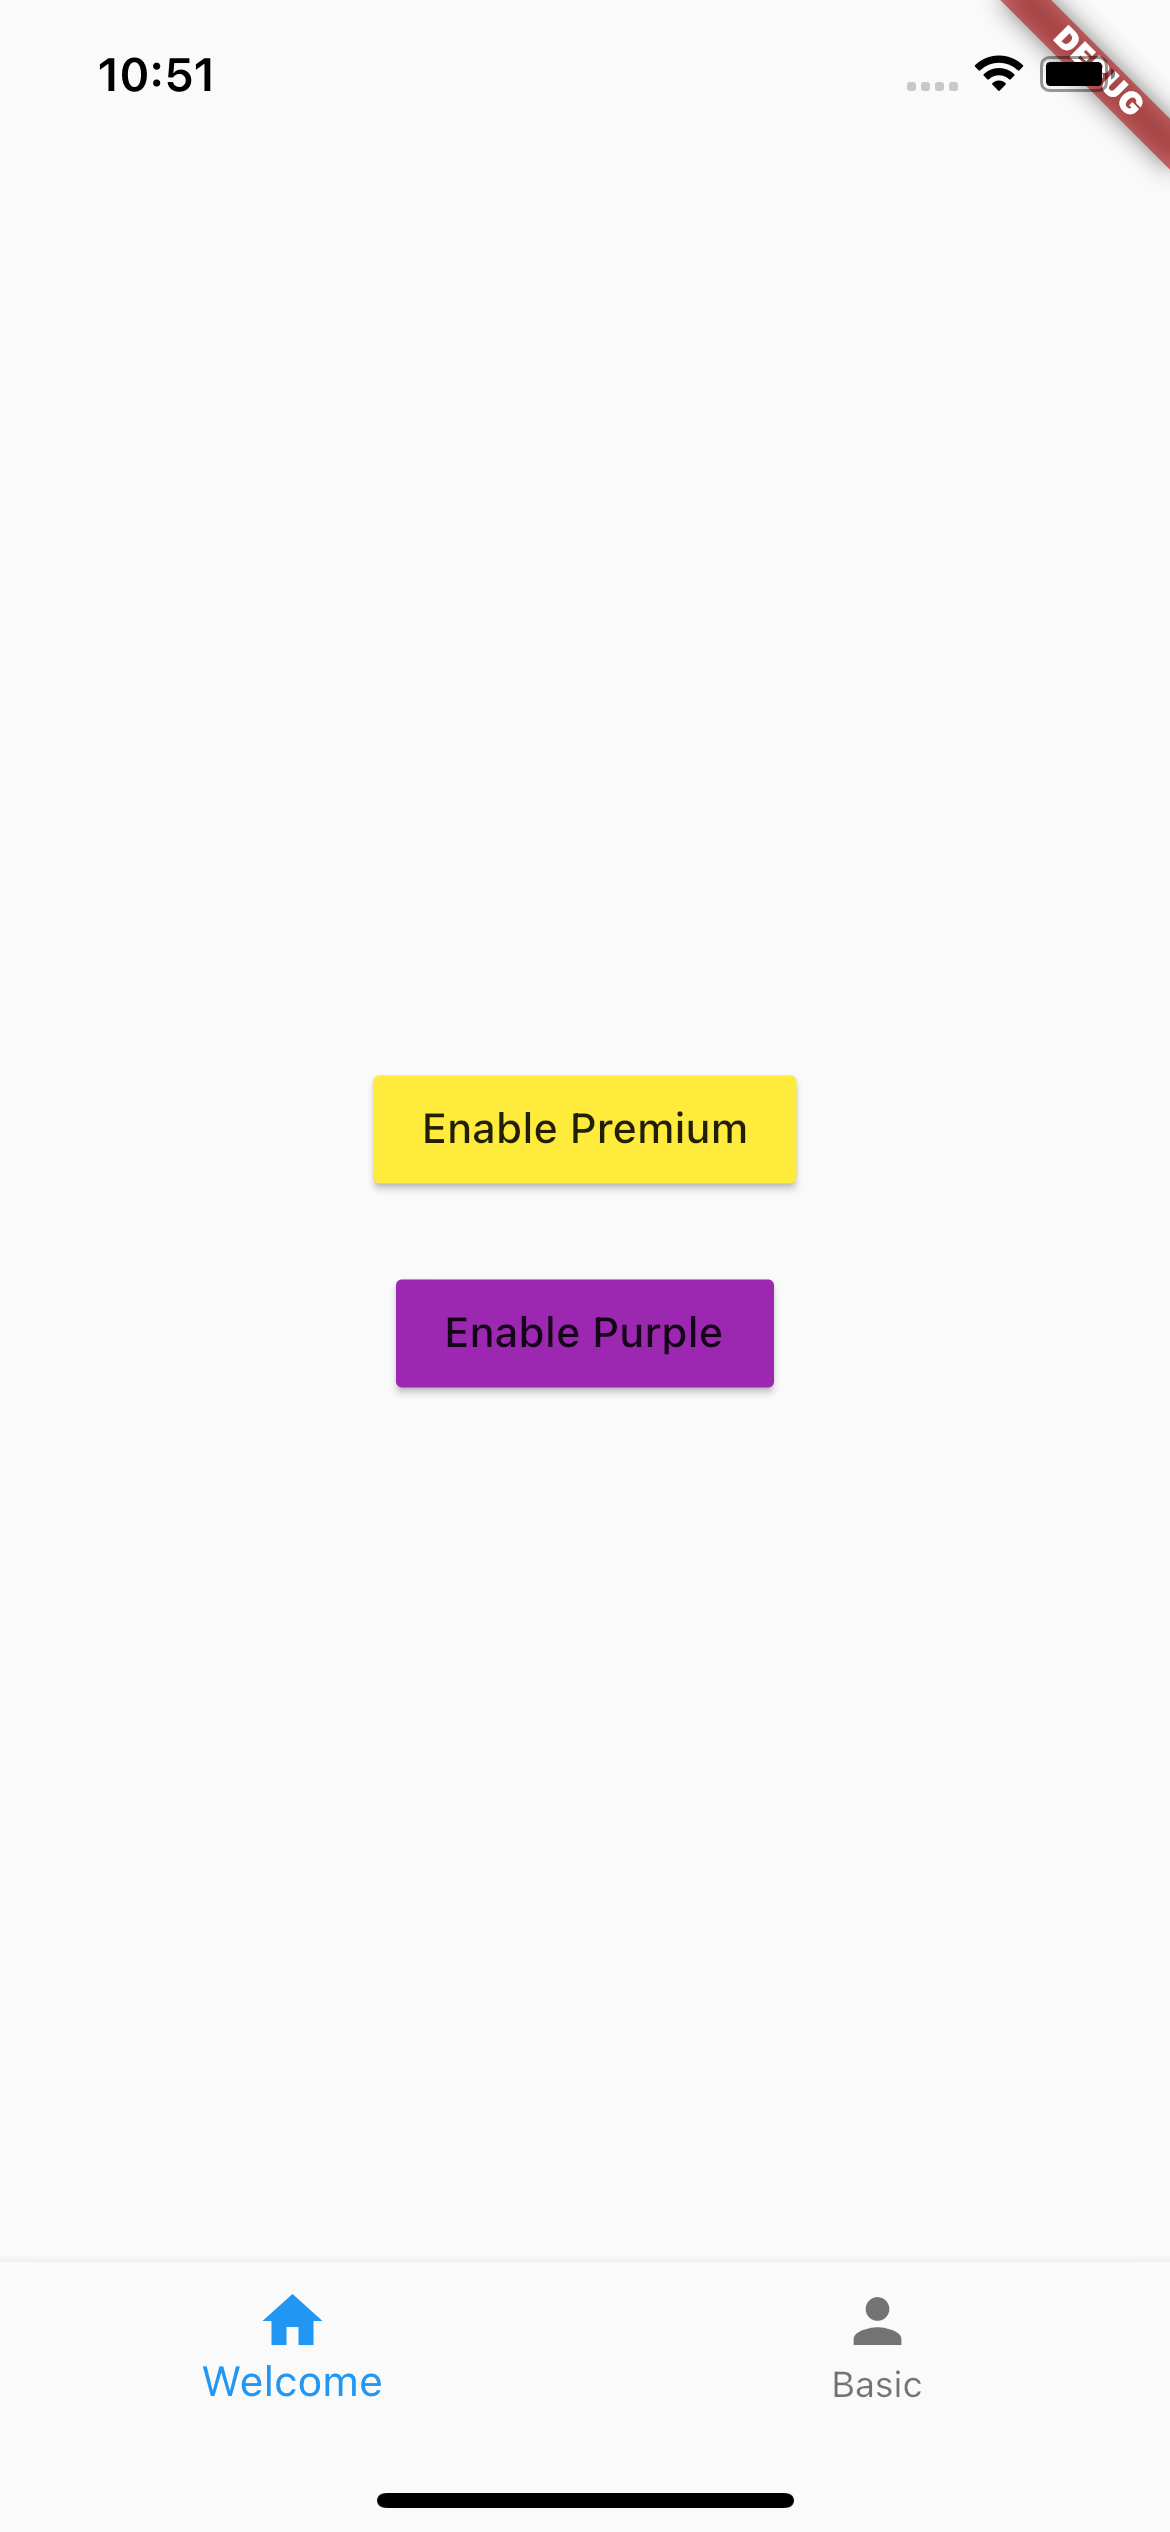
The FeatureSwitcher
Now that we have declared our list of features and created the StateNotifier to propagate that list throughout the app, we must solve the first problem:
How are we going to show or hide a widget depending on the current set of features a user has access to?
If we think through it, it should be simple:
- We check what is the current list of features available;
- Our Widget has to know what features its tied to so that it can change its visibility
This can easily be achieved if we add if statements to Columns or Rows, or if we add a Visibility Widget for each case.
But this means that we will have to repeat a lot of code over and over again.
The better option is to create a simple Widget that encapsulates this logic. With the ConsumerWidget we will be able to use the WidgetRef which gives us access to all the providers we created. We will also want to watch the provider so that the FeatureSwitcher is rebuilt each time that the StateNotifier changes.
class FeatureSwitcher extends ConsumerWidget {
  final FeatureEnum feature;
  final Widget child;

  const FeatureSwitcher({
    required this.feature,
    required this.child,
    Key? key,
  }) : super(key: key);

  @override
  Widget build(BuildContext context, WidgetRef ref) {
    final features = ref.watch<List<FeatureEnum>>(featuresProvider);
    if (features.contains(feature)) {
      return child;
    }
    return const SizedBox();
  }
}
Now to use this Widget in our app, we just need to wrap a child Widget and stipulate the feature:
class HomePage extends StatelessWidget {
const HomePage({Key? key}) : super(key: key);
@override
Widget build(BuildContext context) {
return Scaffold(
body: Column(
children: const [
//...
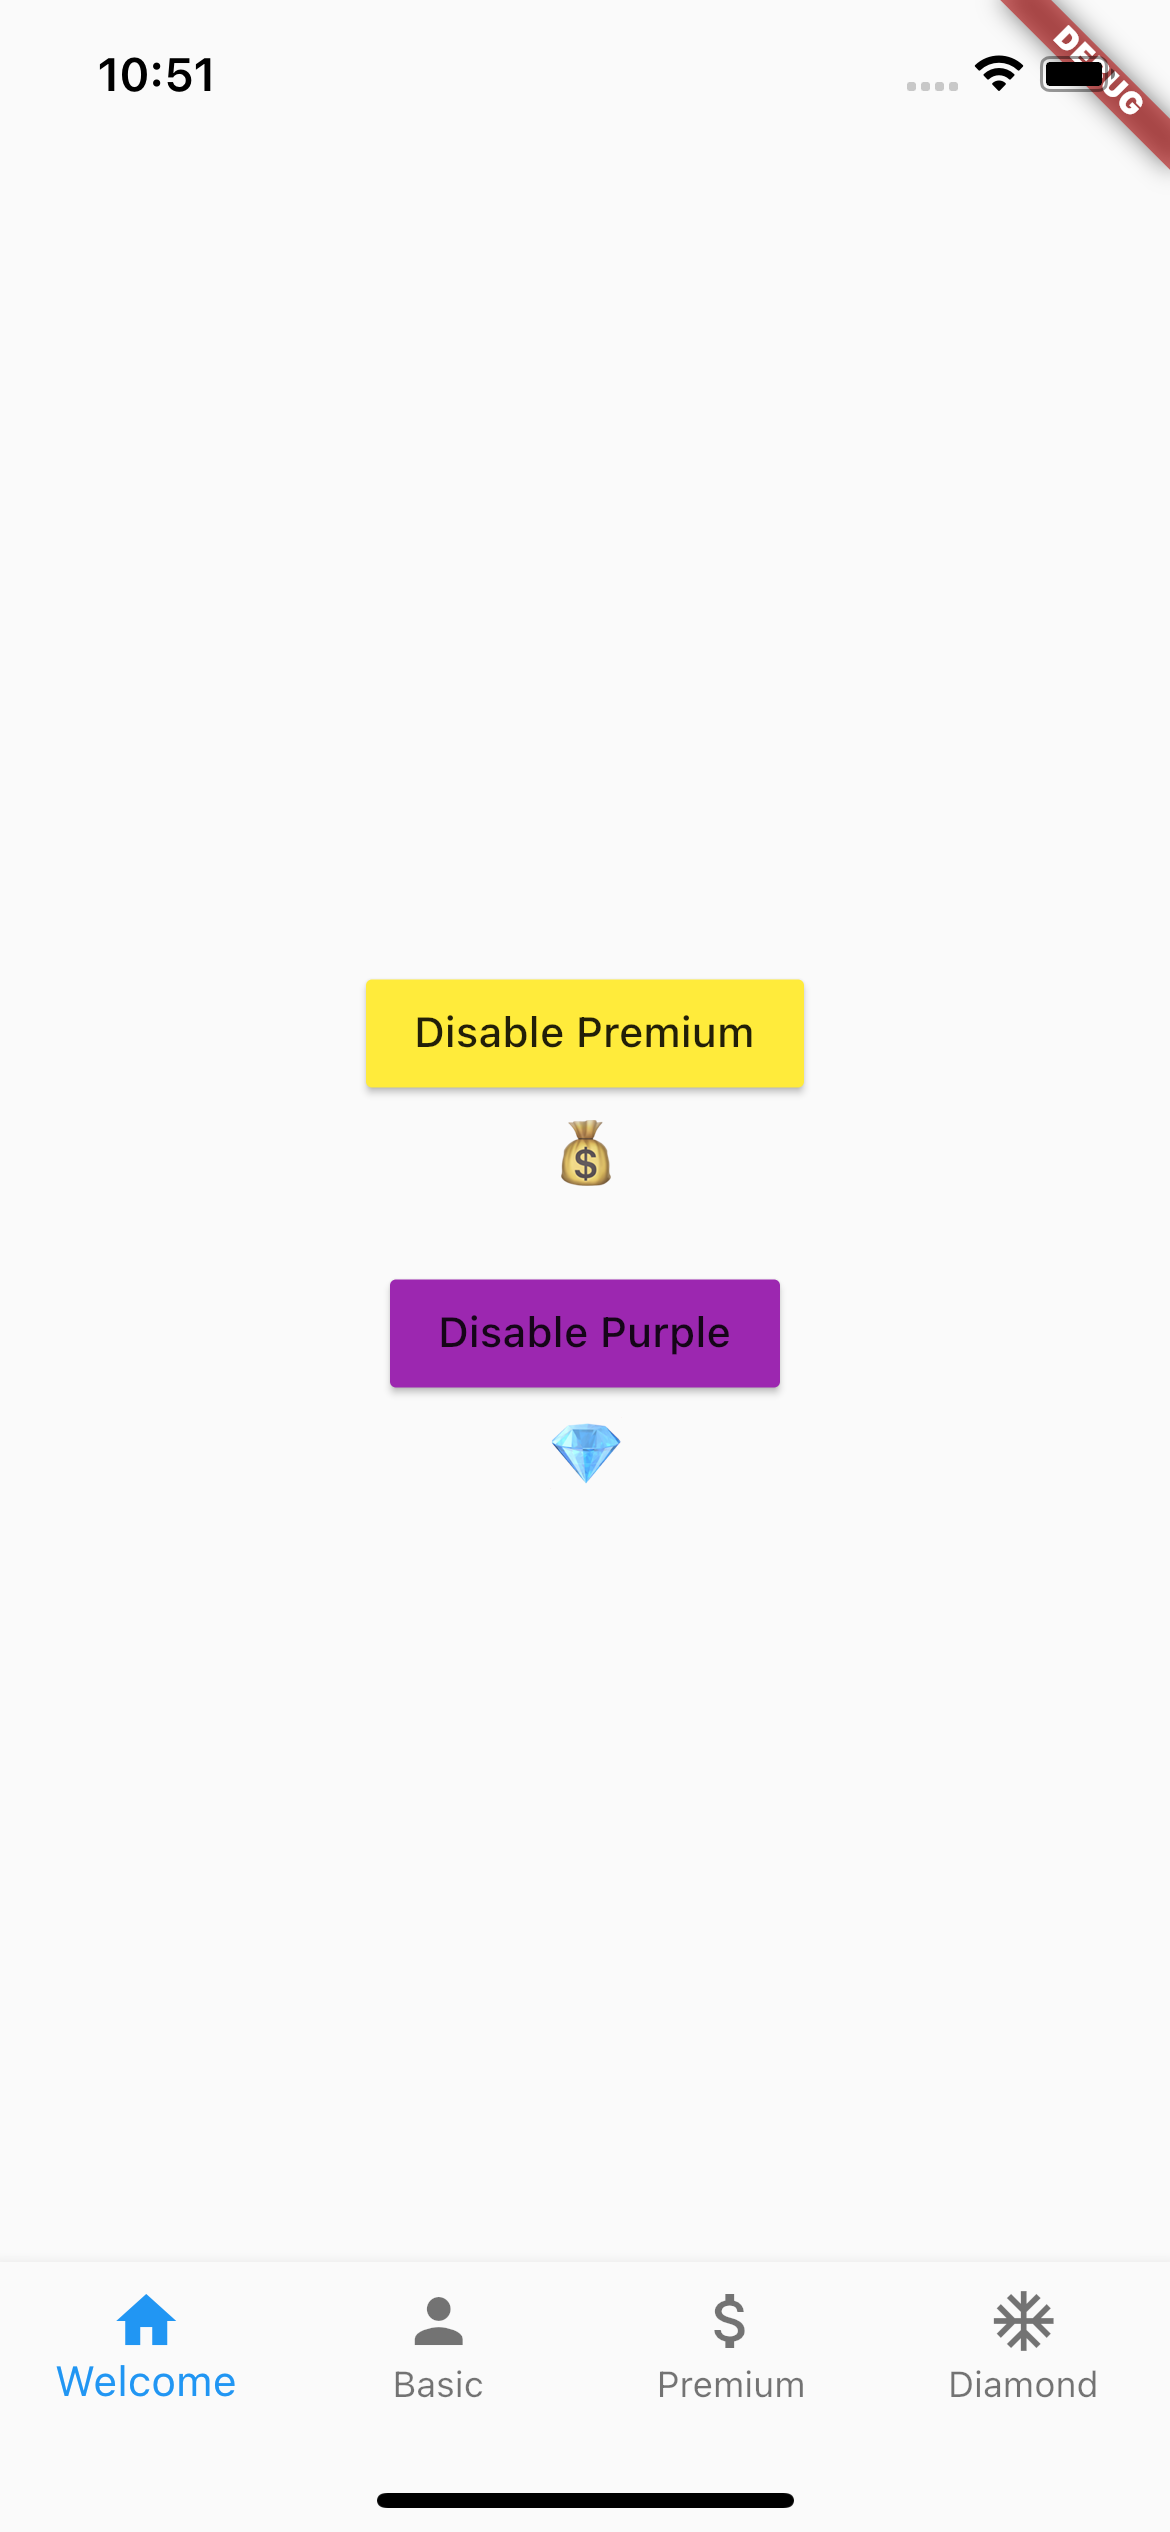
FeatureSwitcher(
feature: FeatureEnum.premium,
child: Text("💰", style: TextStyle(fontSize: 24.0),),
),
//...
],
),
);
}
}
The FeatureBuilder
There may be the case however that we build a widget differently depending on which features are enabled or disabled.
For example, a BottomAppBar - if each feature will show or hide a navigation item, then we need to create some sort of builder for it.
Thankfully, we can reuse some of the logic of the FeatureSwitcher, only this time we will have as an argument a Function to help us build a child given a list of features:
class FeatureBuilder extends ConsumerWidget {
  final Widget Function(BuildContext, List<FeatureEnum>) builder;

  const FeatureBuilder({
    required this.builder,
    Key? key,
  }) : super(key: key);

  @override
  Widget build(BuildContext context, WidgetRef ref) {
    final features = ref.watch<List<FeatureEnum>>(featuresProvider);
    return builder.call(context, features);
  }
}
In the case of the BottomNavigationBar we can use the builder to show or hide navigation items:
class BottomBar extends StatelessWidget {
  final PageEnum page;
  const BottomBar({required this.page, Key? key}) : super(key: key);

  @override
  Widget build(BuildContext context) {
    return FeatureBuilder(builder: (context, features) {
      return BottomNavigationBar(
        type: BottomNavigationBarType.fixed,
        currentIndex: page.index,
        onTap: (index) {
          ///...
        },
        items: [
          const BottomNavigationBarItem(
              icon: Icon(Icons.home), label: "Welcome"),
          const BottomNavigationBarItem(
              icon: Icon(Icons.person), label: "Basic"),
          if (features.contains(FeatureEnum.premium))
            const BottomNavigationBarItem(
                icon: Icon(Icons.attach_money_outlined), label: "Premium"),
          if (features.contains(FeatureEnum.diamond))
            const BottomNavigationBarItem(
                icon: Icon(Icons.ac_unit), label: "Diamond"),
        ],
      );
    });
  }
}
Note that BottomNavigationBar items don’t accept a Widget, hence why we cannot use the FeatureSwitcher for this case.
Conclusion
With this small article, we quickly created two wrapper classes - the FeatureBuilder and the FeatureSwitcher.
Although they seem too simple to be of any value, they can be used in many situations.
In a development cycle with different environments, there may be the case where we have some features enabled in Staging for testing, that we don’t want to yet push to production. In this case, a FeatureSwitcher would quickly hide that feature so that we can make a production release.
This could also be connected to an online dashboard where not only we could monitor features, but also remotely deactivate them for some or all users. For instance, if there’s a promotional event for the release of a new product, we may want to show an ad just for a specific set of times. After that date, we disable the feature on our online dashboard, and the FeatureSwitcher will hide it from the users.
Finally, this also serves to illustrate a common practice in Software Engineering - even if it feels like that we’re abstracting just a few lines of code, those lines of code can be very valuable, since they’ll be widely used in the project.
The code for this project is hosted in Github at: https://github.com/Vanethos/flutter_feature_switcher
Want to get the latest articles and news? Subscribe to the newsletter here 👇
And for other articles, check the rest of the blog! Blog - Gonçalo Palma