Adding a Splash Screen to Flutter Web
When starting up a Flutter application, be it in mobile or web, there is a blank screen displayed before the app shows its first screen. In reality, what happens is that the Flutter framework engine is “booting up” before being able to show the first screen, so by default it shows a white screen.
In both Android and iOS, we can change this by using a Native Splash Screen, since it’s something that native apps extensively use for branding and initialization.

But what about web? How can we show something different to the user while Flutter is booting up?
Understanding the Native Elements of Flutter Web
After we create our Flutter project, we can see a folder for each native platform that we target: android, ios, web and macos. Inside each folder are project files for each platform, and if we look specifically for web, we see the following:
web/
├── icons/
├── favicon.png
├── index.html
└── manifest.json
Here we can change some properties of our web application, such as the icon that is displayed on the browser tab, the favicon.png or adding preview text and images by changing the meta tags in the index.html file (as seen in the addtoany article). We could also add more functionality to our web app, by adding here a JavaScript file exposing functions that we could call in Dart with the dart:js library.
These files are going to be used to load the Flutter application. Specifically, the index.html file is used not only to declare new scripts, the manifest and favicon, but is also used to load the main.dart.js file that is used to boot up Flutter:
<body>
	<!—- ... —->
	<script src="main.dart.js" type="application/javascript"></script>
</body>
Adding a Simple Splash Screen
In web, we don’t have an explicit way to edit the SplashScreenDrawable as we have in Android or a Storyboard that can be edited in the case of iOS, so we have to work with what we have - the index.html file.
Let’s start with something simple - loading an image from the web. As we can see from W3Schools, this can be done using the <img> tag inside the <body>. So let’s start by adding a new image to it.
First, we add a new folder inside web called img, in which we put our Flutter logo:
web/
├── img/
	└── flutter-logo.png
We can then show it using:
<!DOCTYPE html>
<html>

<head>
   <!—- Head Comments —->
</head>


<body>
    <img src="img/flutter-logo.png" />
	  <!—- Other Body Properties —->
</body>

</html>
Now, when we reload our page, the Flutter logo is displayed!

But, as we can see, the image is not centered. A quick Google search shows another helpful page from W3.org telling us how we can quickly center our images - Centering Thing
To add styling to our web page, we will need to first add a styles.css file inside the web folder:
web/
└── styles.css
Inside it, we can paste the code for centering the image:
.center {
    margin: 0;
    position: absolute;
    top: 50%;
    left: 50%;
    margin-right: -50%;
    transform: translate(-50%, -50%)
}
Then, we need to link our style sheet to our index.html file by adding the following to the head section:
<head>
	<link rel="stylesheet" type="text/css" href="styles.css">
</head>
Finally, we just need to add the class = “center” to our image declaration:
<body>
	<img src="img/flutter-logo.png" class="center" />
</body>
This will now show our image centered:

We can now go a step further, and adding a background color to our page, by further customizing the styles.css file:
html,
body {
    background-color: #F6F5AE
}
Conclusion
As seen in the article, we can easily manipulate our index.html file to provide a “splash” screen to our app. We can even further expand this concept by adding css animations to our app, as we have in this example:
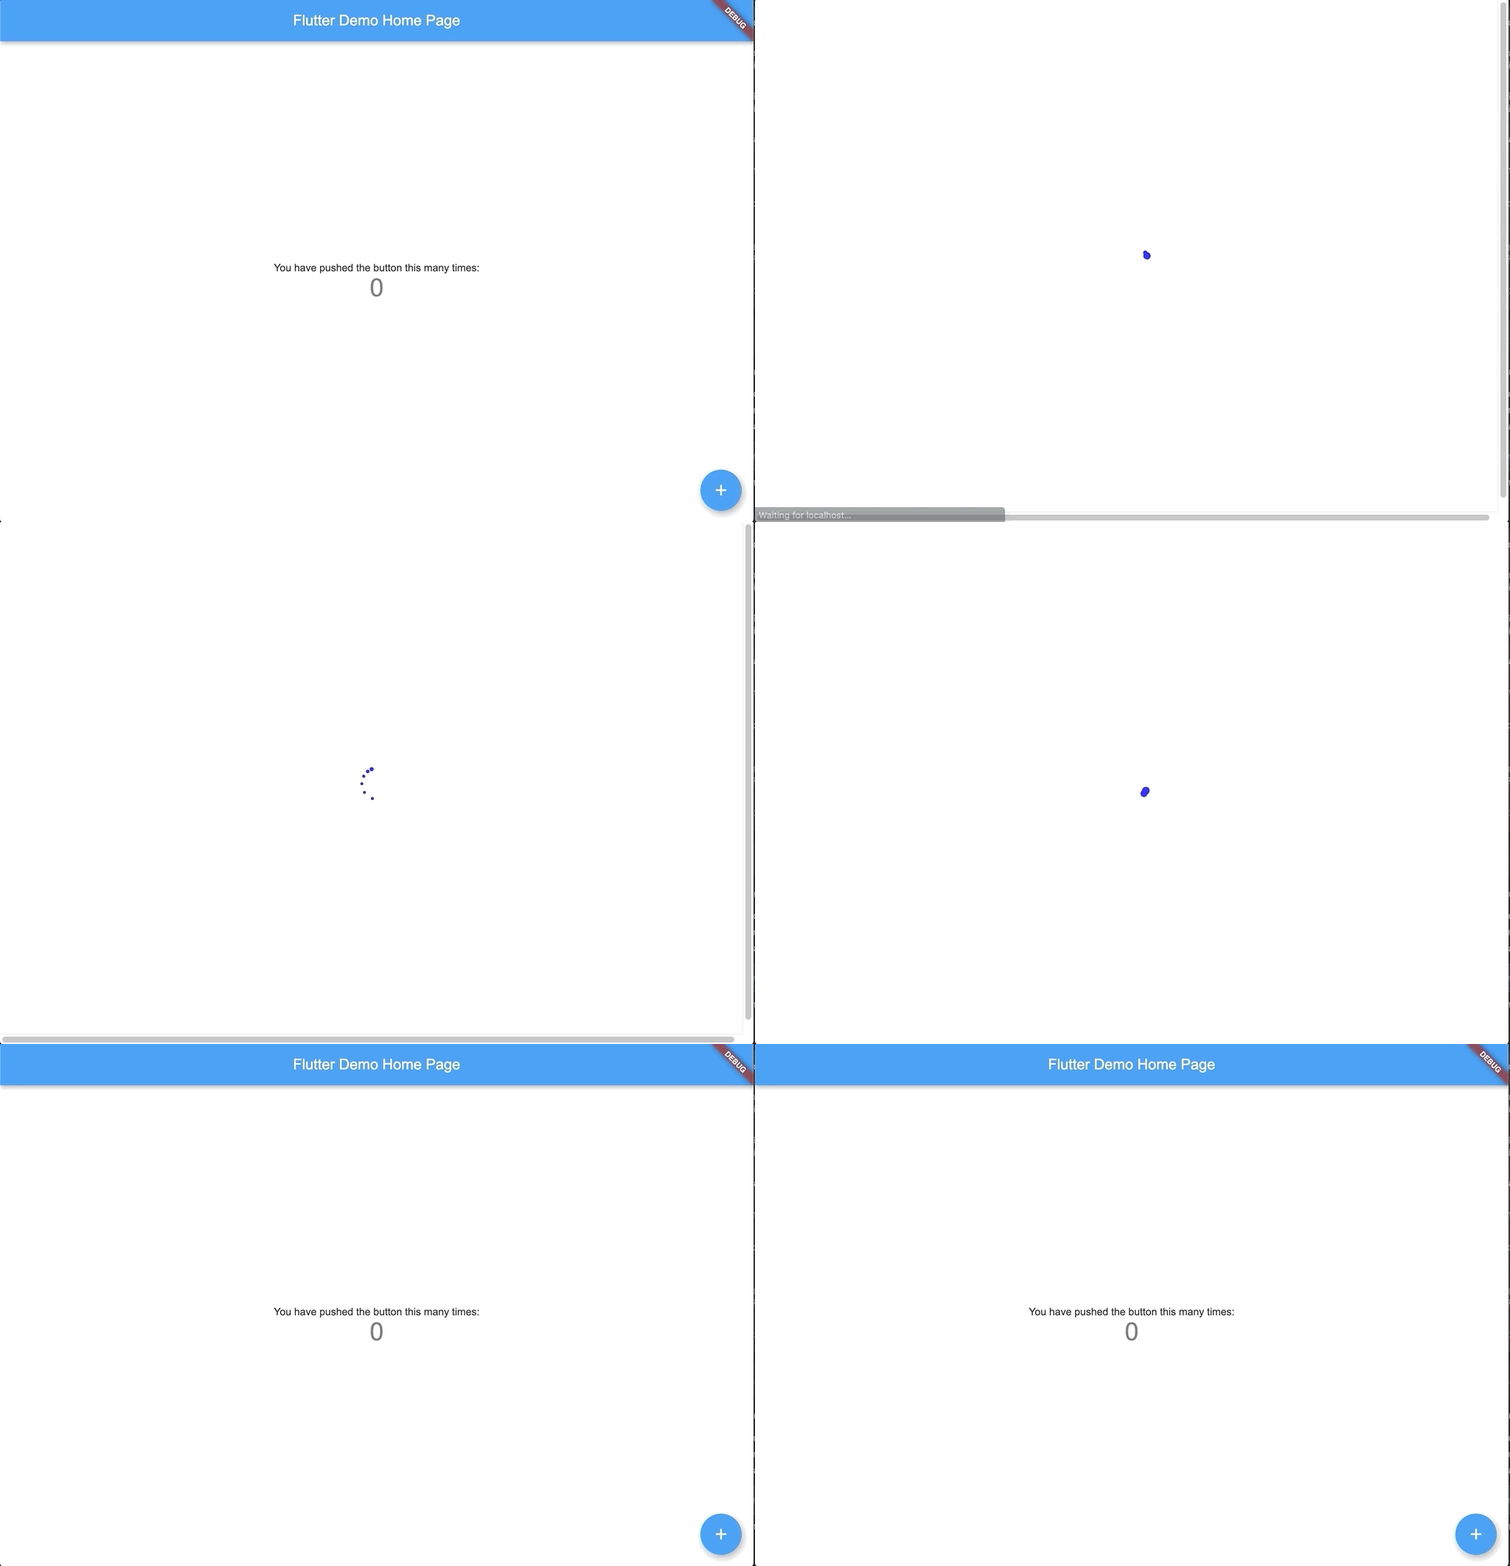
Which can be found in the following Github repo: https://github.com/Vanethos/flutter_web_splash
As an ending note, this workaround might change in the near future, as the Flutter Team adds more and more functionality to Flutter Web, but until then we can provide a better experience to our users when they are first loading our website.
Want to get the latest articles and news? Subscribe to the newsletter here 👇
And for other articles, check the rest of the blog! Blog - Gonçalo Palma
